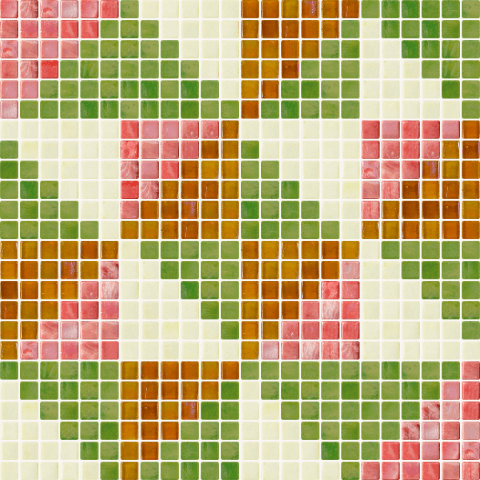
How to install
Below we have videos to help you with the installation of your Mosaicgo sheets.
Simple 1,2,3 Tips and Tricks too.
Wow it looks like a million bucks.
I didn’ t even need a contractor.
Make sure you line up your Mosaicgo sheets and if they need adjusting you can peel off and start again
Install Instructions
Please follow the instructions carefully to assure the installation goes smoothly and for the best MOSAICGO results. The MOSAICGO sheets are comprised of two components, one a sticky backed felt front that will adhere to the wall. Second is the loop backed glass mosaic sheet. When pressed together they hold fast and tight.
STEP 1:
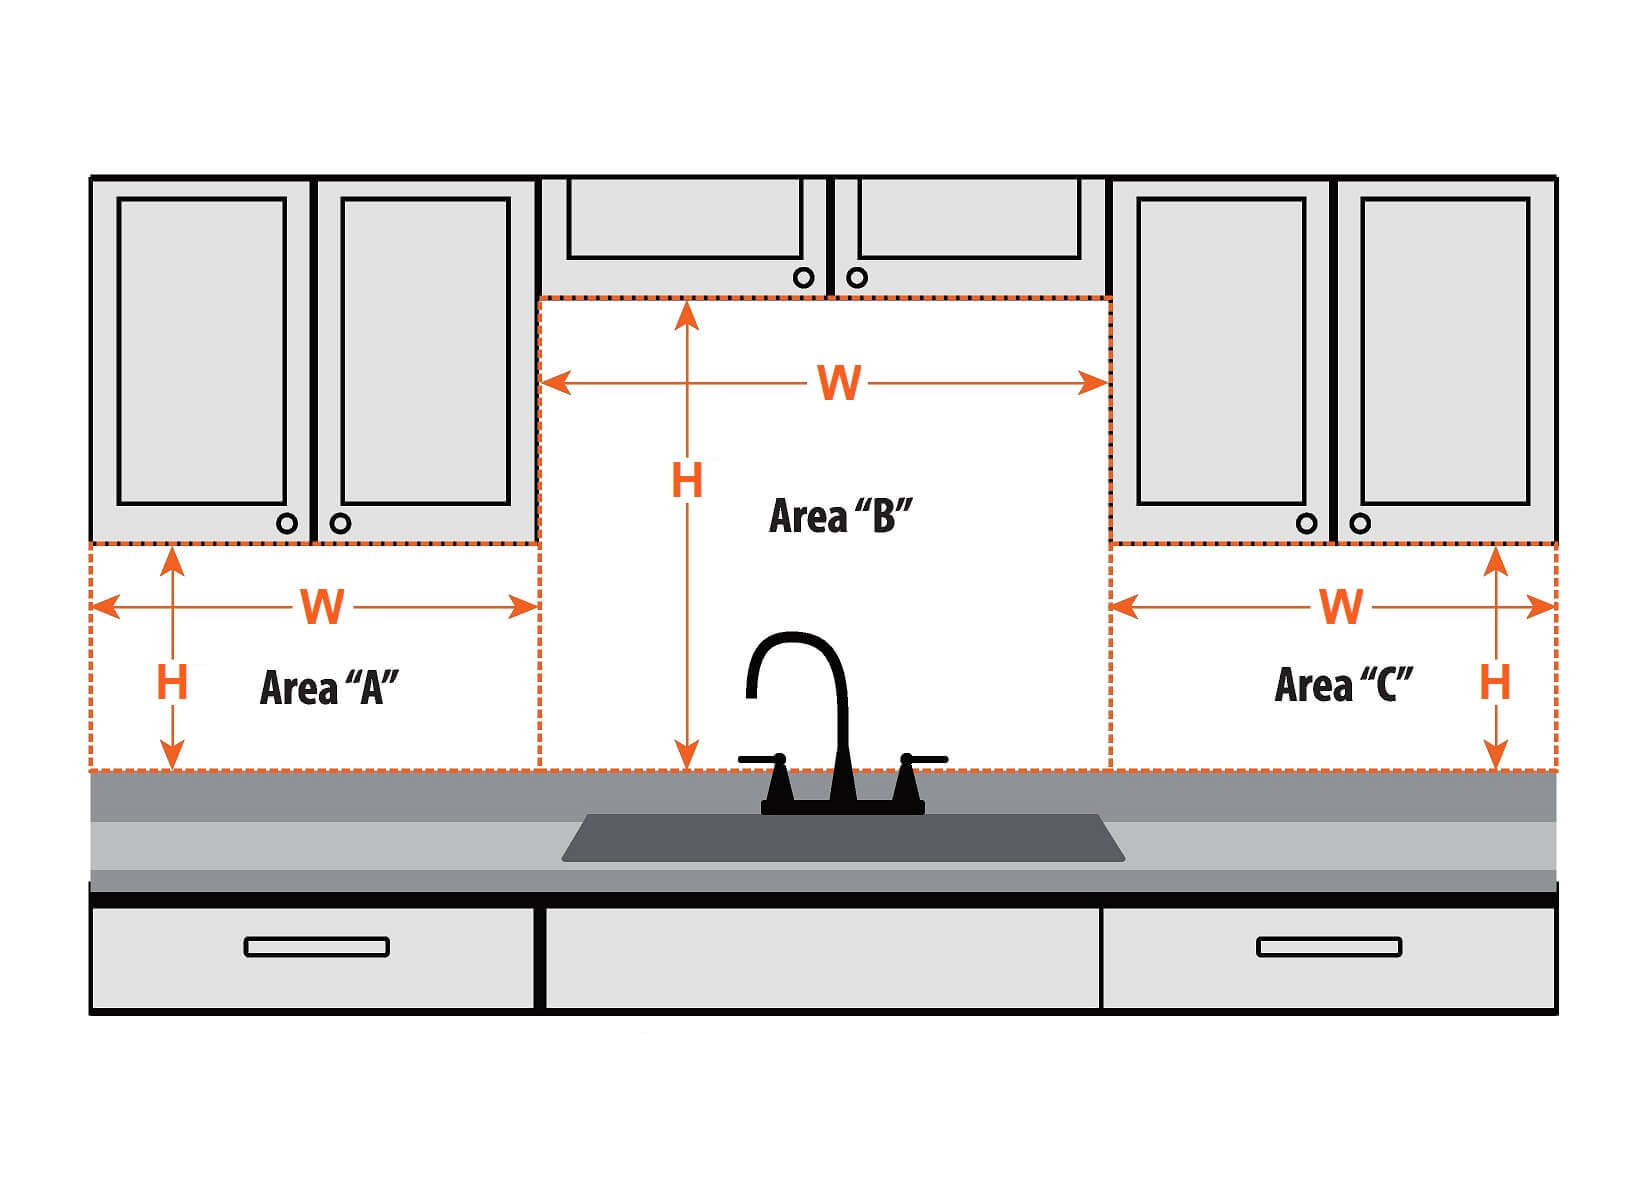
Compare the measured wall dimensions with the ordered MOSAICGO blend or pattern. Make sure you measure and re-measure MOSAICGO will be installed out the blend or pattern on a flat surface or table top with the measured wall dimensions to review areas where cuts and adjusments will be required. Light outlets, for example, will need to be cut out and measured before applying the the MOSAICGO sheets. When laying out the design, it is important to find the center point to make sure the pattern looks balanced from side to side.
STEP 2:
Clean the surface for installation. Thoroughly clean the area where the MOSAICIGO sheets will be installed to ensure perfect adherence. Make sure the surface that the MOSAICGO sheets will be installed are thoroughly cleaned, free of dust, grease or other residues. Please use a fine sandpaper to clean and smooth any delaminated paint or imperfections that could hinder adherence of the MOSAICGO product. Note: lt is recommended to fix wall imperfections and flaws before installation occurs to guarantee a smooth successful installation.
STEP 3:
Prepare the wall for installation. To begin the installation, measure the sheet size, which are 12"x12" and draw a grid onto the wall with a straight edge, plumb line and or level. We suggest starting in the center and moving out, or going from the bottom up or the side across. Use a visible marker to highlight your lines.
STEP 4:
Begin adhering the sticky backed felt side sheets onto the wall. To begin, adhere the sticky felt side sheets in position onto the surface a day before attaching the loop glass front sheets onto the felt side sheets. We recommend beginning to adhere the sticky felt side sheets from the left top hand comer down the side and across. Continue sticking the felt side sheets onto the wall according to the design layout. lt is recommended to wait 12 hours before attaching the loop glass front sheets onto the felt side sheets. To assure the felt side sheets are firmly bonded to the wall; press with your hand or a small rubber trowel to smooth adhesion and to avoid air traps. Complete covering the desired surface with the felt side sheets. Wait at least 12 hours after applying the felt side sheets to assure superior bonding onto the wall.
STEP 5:
Begin attaching the loop glass sheets onto the felt sheets. Make sure the loop glass sheets are aligned and leveled with the felt sheets. We suggest attaching the loop glass sheets left to right, carefully following horizon-tal and vertical alignments. Adjustments can be easily made by cutting full sheets in half, by rows or by spacing grout joints to avoid cutting individual tiles. lf a loop glass sheet is set incorrectly onto a felt sheet, it can be easily pulled apart from the felt sheet and repositioned.
STEP 6:
Check design and placements. Once the loop glass sheets have been placed onto the felt sheets check to make sure the pattern and color placements are correct. This is the last chance for repositioning before grouting.
STEP 7:
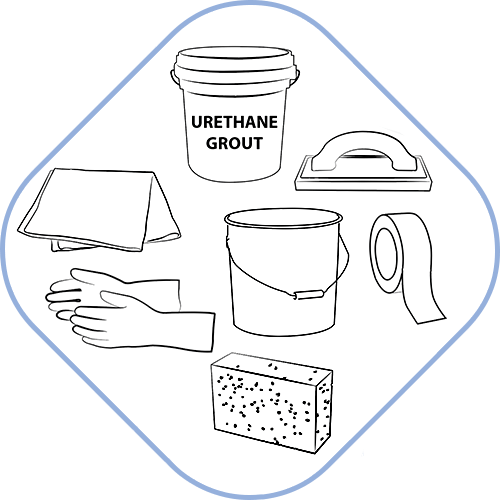
Gather grouting tools. Make sure you have the right tools and adequate time for grouting. Grouting should take place all in one day. We recommend a Urethane premix neutral grout. Tools needed:•Urethane premix neutral grout
•Small bucket of clean water,
•Dry cotton cloths,
•Float trowel,
•Plastic gloves,
•Grout sponge,
•Painters tape,
•Paper or drop cloth to cover non-grouted areas. IMPORTANT NOTE: Color grout selection determines the final desired appearance. A neutral color grout is recommended that unifies with the selected color pattern or blend.
STEP 8:
Prepare grouting area.Use painters tape around the edges and walls to protect those areas that you want to keep clean from the grout. One can tape along the side of a newspaper edge to protect larger wall areas. A drop cloth or newspaper will work on any flat surface area below your mosaic project to assure cleanliness.
STEP 9:
Begin grouting. Make sure there is ample time to grout as well as a substantial amount of grout to covered desired surface. We recommend grouting in small 3' x 3' areas at a time to prevent grout from drying too quickly onto surface. Open premix urethane grout mix and place onto a float trowel and distribute evenly in a diagonal fashion, forcing the grout mix to fill in the grout joints uniformly. Once a small area is covered with grout, clean grouted sections of excess grout with a damp clean sponge, wringing out excess water in a bucket of clean water and make sure all the joints are completely filled with grout.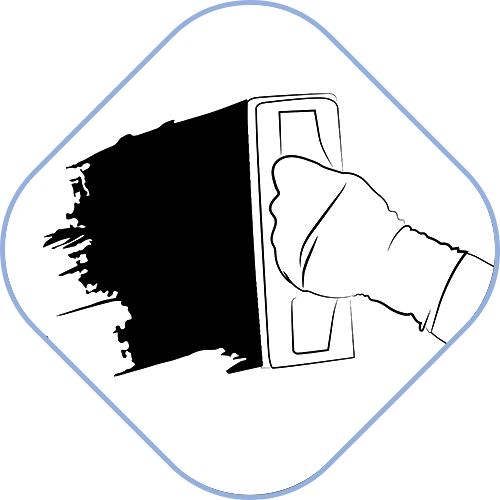
STEP 10:
Final grouting and cleaning. Once all areas have been grouted and all joints are filled with grout and excess grout has been cleaned off, wipe once or twice more with a clean damp sponge. For a final finish use a dry cottonAcloth to remove any dry grout and to obtain a final clean finish. Step back and give yourself a high five. YOU DID IT! ! Way to go. Enjoy your MOSAICGO project.
Previous
Next
